
Book a site listed for your rig’s full length, check which hookups it has (water, electric, sewer or none), and learn the dump station routine before the first night. A site without hookups means living off your fresh tank, house battery and waste tanks until you leave. For summer and holiday weekends, reserve as early as the campground allows.
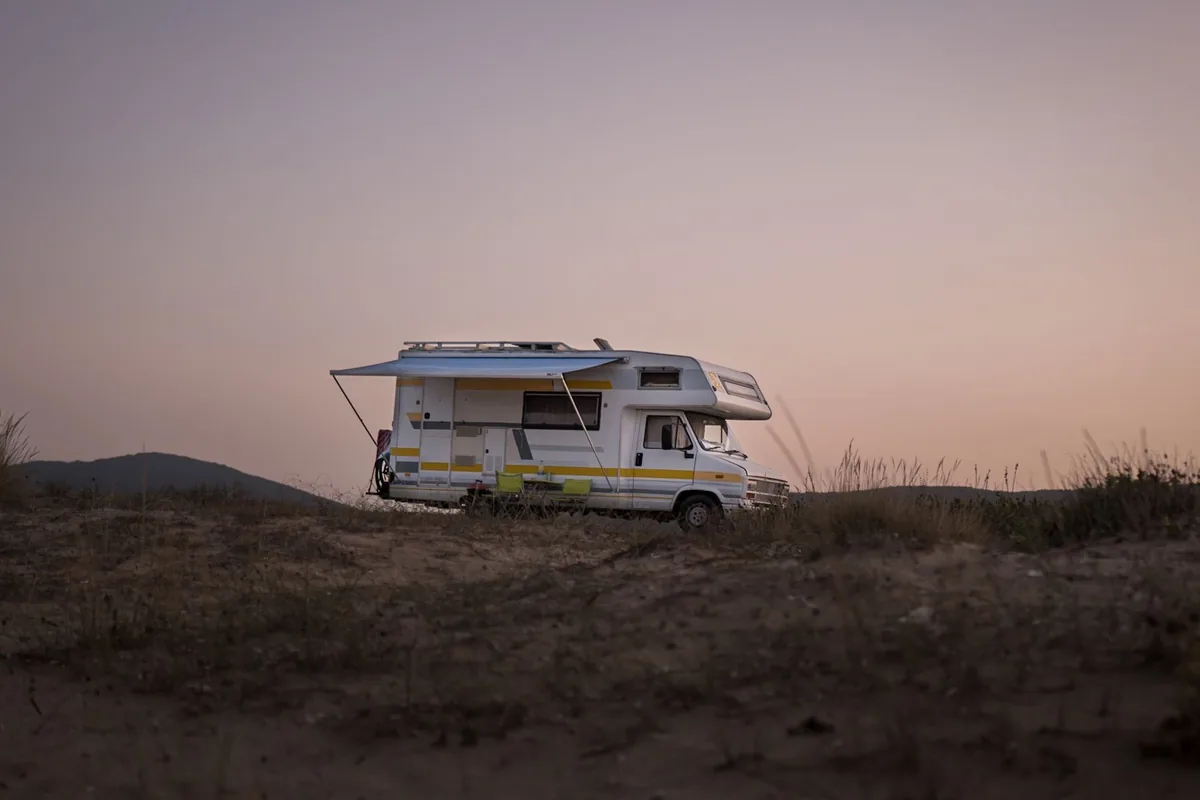
Choose a rig you can actually park
Motorhomes (Class A, B and C) put the engine and living space in one vehicle. Towables (travel trailers, fifth wheels, pop-ups) are pulled by a separate truck or SUV, which stays free for errands once the trailer is unhitched.
For a first trip, the smaller rig is easier to park, fuel and fit into a site. Campground listings state a maximum RV length, and a site listed at 55 ft takes rigs of 55 ft and shorter. Measure the whole setup, including the hitch on a trailer or the tow bar and car behind a motorhome, and compare it to that number before booking. A long rig does better in a pull-through site, so filter for those and skip the backing in.
Weight is the number new owners skip. Every tow vehicle and RV has rated limits on its data labels and in the owner’s manual, and those ratings, not the sales brochure, set what you can pull. Fresh water weighs about 8.3 lb per gallon, so a full tank adds real load before a single bag goes aboard.
Renting before buying
A weekend rental will tell you more about RV life than any amount of reading, and it costs a fraction of buying. Most of what matters happens at pickup.
Ask for the orientation walkthrough. It should cover running the generator, connecting to hookups and using a dump station. If the rental company skips one, ask. Nobody else will explain it on the road.
Read the restrictions before you sign. Some companies ban unpaved logging roads, and most allow driving in the US and Canada but not Mexico. Many rentals include a 24-hour assistance line or free roadside help, so save that number in your phone before you leave the lot.
Planning to tow a car behind a rental motorhome? Ask who supplies the tow bar. Renters often bring their own, the receiver hitch is usually already installed, and some companies add a daily towing fee.
Hookup types: primitive, partial and full
A full-hookup site costs more than a primitive one and is far easier to live at, so the listing’s exact list of connections is worth reading line by line.
| Site type | What you get | What you handle yourself |
|---|---|---|
| Primitive | Usually no water or electric; some lack flush toilets or showers | Water, power, all waste |
| Partial hookup | Water and electric, no sewer | Emptying gray and black tanks at a dump station |
| Full hookup | Electric, water and sewer; some add cable, phone or free Wi-Fi | Connecting and disconnecting the hoses and cord |
Where a campground has restrooms, showers, laundry or a pool, those are normally covered by the site fee. A small campground may have none of them, and the listing is where that shows up.
30 amp and 50 amp power
A 30 amp service delivers up to about 3,600 watts, and a 50 amp service up to about 12,000 watts. Two roof air conditioners plus a microwave can trip a 30 amp breaker, so on hot days run one big appliance at a time.
Pack both adapters (30 to 50 and 50 to 30) and a surge protector. Plug the surge protector into the pedestal first, then connect the RV cord to it. Without one, the RV’s electronics take whatever the campground wiring sends.
Dry camping: no hookups
Dry camping, also called boondocking, means no hookups at all. Fresh water, house battery charge and tank space for waste all run down together, which is why it suits shorter stays.
Before you go, fill the fresh tank, charge the battery and empty the gray and black tanks. Then use less. Short showers, paper plates and a headlamp instead of the overhead lights stretch every resource. If you run a generator, keep it outside and well away from windows, doors and vents, and follow the quiet hours posted at the site, since many campgrounds limit generator use to set hours.
Where RVs can stay overnight for free
The reliable free option is dispersed camping, which many BLM districts and national forests allow. Expect no hookups and no trash service, with stays typically capped at about 14 days. The cap differs from one land unit to the next, so call the local BLM or Forest Service office before settling in.
Free sites are rare near cities, coastlines, national parks and tourist hubs. Plan on driving a while to reach one, and look hard at the access road first. A dirt track that a pickup handles easily can be a problem for a long motorhome.
Store parking lots are a gray area. Some allow overnight RV parking, but the answer changes by store and by local ordinance, and it has to come from the manager. City, state and park rules differ too, and breaking them can mean a fine or a knock on the door at midnight. Other rigs in the lot don’t prove it’s allowed.
Several apps and websites map RV parks, dump stations and free dispersed sites across North America. Reviews go stale, so confirm a site with the land manager or park office before you drive out to it.
National parks and peak season
National park campgrounds typically require reservations, set length and height limits on sites, and rarely allow overflow camping. Plenty of visitors book a campground just outside the boundary and drive in each day. If Maine is on your list, the Acadia National Park camping guide has the park-specific details.
Summer weekends, holiday weekends and school breaks fill the best sites first. Reserve the day the booking window opens and keep a second choice ready. Coastal campgrounds go especially fast, and the California beach camping guide is the one to read for that state.
Then there’s the RV-10 rule: some parks favor rigs under 10 years old. It’s a park preference, not a law, and enforcement is inconsistent. With an older rig, ask when you book, and expect that a park may want photos.
Driving, route planning and the 3-3-3 rule
An RV brakes slowly, swings wide and tires you out faster than a car. Leave extra following distance, take turns wide, and pick fuel stops you can enter and leave without backing up.
Use a GPS built for RVs that accounts for height and weight. A standard phone map doesn’t know your clearance, and low bridges and restricted roads are where new drivers get into trouble. Know your roof height and write it where you can see it.
RVers pass around the 3-3-3 pacing idea: no more than 300 miles of driving a day, arrive by 3 p.m., stay 3 nights per stop. Nobody enforces it. It works because daylight arrival makes backing in and leveling easier, and a short drive day leaves you something for the evening. Stretch or shrink the numbers to suit your rig and your patience. For a longer itinerary, the camping road trip planning guide covers building the route.
A route built around stops looks like the one in the waterfall camping guide for Michigan’s Upper Peninsula.
Towing a vehicle behind the RV
Many motorhome owners tow a small vehicle so the big rig can stay parked at camp. That takes a tow bar (or a trailer), a receiver hitch, and lights and brakes set up the way the vehicle manufacturer and local rules require. Not every car can be towed with all four wheels down, so read the owner’s manual for your specific model before buying any hardware.
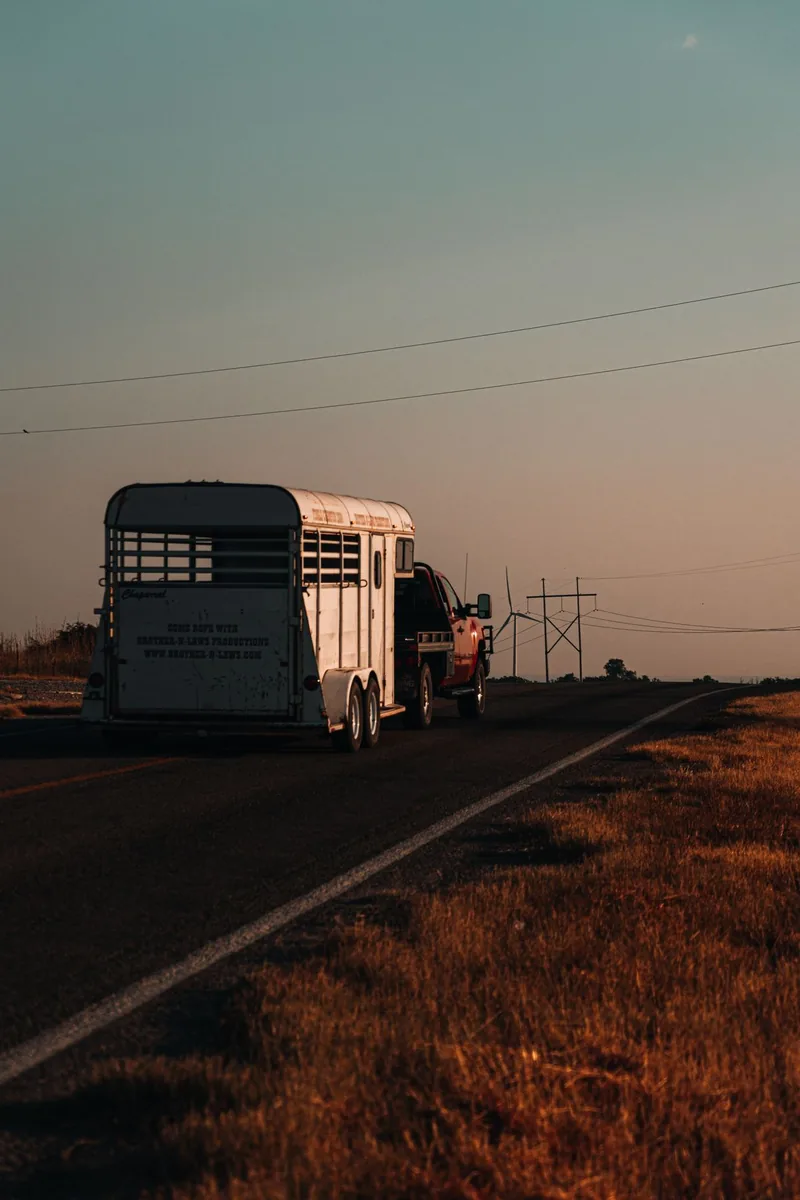
Towable owners have their own pre-departure inspection: hitch, brake controller, brake lights and safety chains, every time.
The “80/20 rule” some trailer owners quote means loading to about 80 percent of the tow vehicle’s rated capacity, which leaves room for wind, hills and mistakes. It’s a personal cushion. The ratings on your vehicle’s labels are the limits, and you stay under them.
Setting up at the site
Order matters. This sequence works for most campsites:
- Park, set the parking brake and chock the wheels.
- Level the rig side to side first, then front to back. Use leveling blocks or jacks if the rig doesn’t level itself.
- Disconnect or stabilize as the manual directs (towables need the tow vehicle unhitched and the tongue supported).
- Plug the surge protector into the power pedestal, then connect the RV cord. Make sure the pedestal breaker is off when you plug in.
- Connect a drinking-water hose to the water spigot, with a pressure regulator between the spigot and the RV.
- Connect the sewer hose if the site has a sewer hookup. Keep the black valve closed until the tank is about two-thirds full.
- Extend slides and awning last, once the rig is level and you’ve checked for overhead branches.
Level before you extend the slides. An off-level rig can bind a slide mechanism, and the refrigerator may not work correctly if it’s tilted.
Dump stations and sewer handling
Partial hookup and dry camping sites both end with a dump station visit. Gray water comes from sinks and showers. Black water comes from the toilet. Bring a sewer hose, a hose support or sloped rest, and disposable gloves.
- Put on gloves and connect the hose to the RV outlet and the dump station inlet before opening any valve.
- Open the black tank valve first and let it empty fully.
- Close the black valve, then open the gray valve. The gray water rinses out the hose.
- Close the gray valve, disconnect the hose, and rinse it with a non-drinking hose if the station provides one.
- Store the sewer hose in a separate compartment from your water hose.
Never fill your fresh tank from a hose that has been near the sewer connection, and keep the drinking-water hose away from anything that touched the dump station.
On a full-hookup site, leave the black valve closed until the tank is about two-thirds full, then dump. A fuller tank gives solids enough liquid to flush out.
What to pack
Hookup gear comes first, because a missing regulator or adapter can’t be improvised at a campground. Motorhomes and towables use the same list, with the hitch items added for towables.
- Hookup gear: 30/50 amp adapters, a surge protector, a drinking-water hose, a water pressure regulator, a sewer hose with a support, gloves and leveling blocks (or jacks if the rig doesn’t self-level).
- Sleeping and bath: bedding, towels and, for cold weather, an electric space heater. Keep other high-draw appliances off while it runs so you don’t overload the circuit.
- Kitchen: cookware, utensils, a can opener, trash bags and dish soap.
- Lighting and tools: flashlights, headlamps, a basic toolkit and a tire pressure gauge.
- Safety: a fire extinguisher, first aid kit and working smoke and carbon monoxide alarms.
- Paperwork: registration, insurance, reservation confirmations, and a printed copy of campground rules for pets, check-in times and generator hours.
The pressure regulator, a second set of leveling blocks, gloves and the storage bay key are what get left behind. Keep them in one bin so the setup tools travel together.
Decide the first night’s dinner before you leave home, because a long drive can put you at the site after dark. The camping recipes and meal ideas hub has options that need little setup.
Pre-trip prep timeline
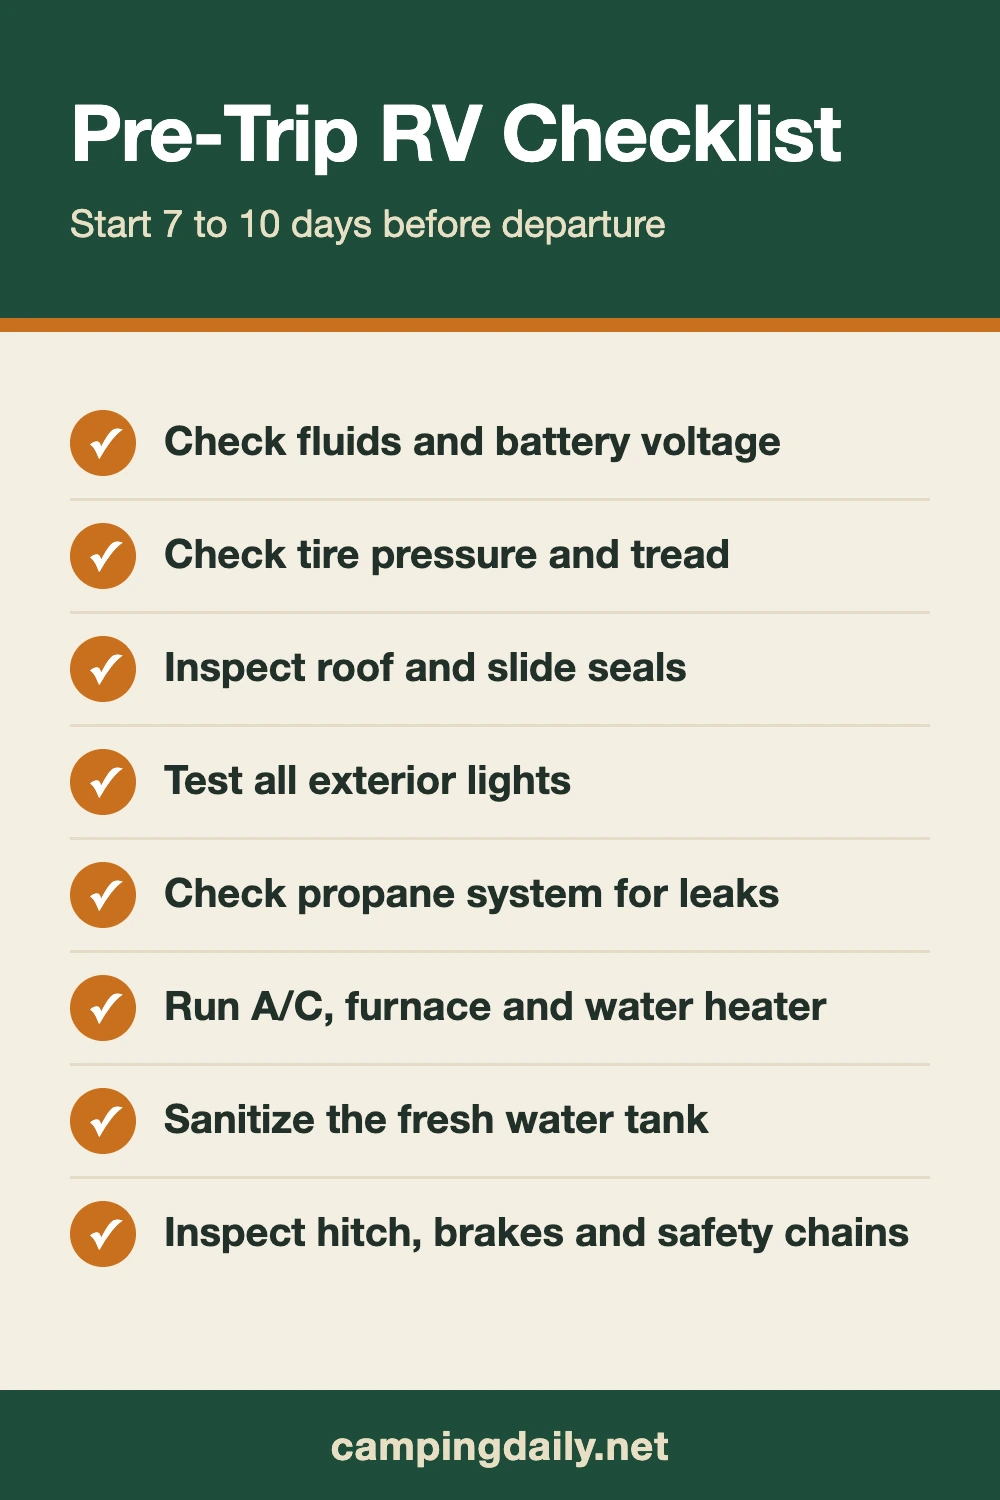
Start about 7 to 10 days before departure, which leaves time to fix what you find.
- Fluids and battery: check engine and chassis fluids and battery voltage.
- Tires: check pressure and tread on every tire, including the spare.
- Roof and slides: inspect the roof and slide seals for cracks or gaps.
- Lights: test all exterior lights, including brake lights and turn signals.
- Propane: check the system for leaks and make sure the tank is filled.
- Appliances: run the air conditioner, furnace and water heater to confirm they work.
- Water: sanitize the fresh water tank, especially if it has sat unused.
- Towables: inspect the hitch, brake controller, brake lights and safety chains.
Before you pull out
Do the walk-around last, once everything is packed. Disconnect the water, power and sewer. Retract awnings, antennas and slides. Latch the cabinet doors and clear the stovetop. Glance at the license plate and registration stickers, since an expired sticker is an easy reason to get pulled over.
Driving off with a slide out, the awning extended or a hose still attached is the classic first-trip mistake, and each one can do real damage.
Safety basics
Carbon monoxide is a serious hazard for campers. Fuel-burning appliances, generators and engines all produce it. Run generators outside and away from windows, doors and vents. Never use a stove, oven, grill or any unvented fuel-burning heater to heat the rig, whether people are awake or asleep. Heat with the RV’s installed, properly vented furnace or an electric heater, and keep a working CO alarm with fresh batteries. Test it before each trip.
Do not use portable propane, kerosene or other unvented fuel-burning heaters inside the rig at any time.
Propane appliances are widely used in RVs, but leaks and poor ventilation are serious hazards. Have the system checked for leaks before each season and keep a propane alarm and a CO alarm working. If you smell gas, get everyone out first. Don’t touch switches, flames or anything that could spark. If it’s safe to do so, shut off the tank valve on your way out, then call the fire department or a propane emergency line from a safe distance. Have a technician inspect the system before using it again.
The site brings its own risks: dry grass near a generator, heavy rain on a sloped pad, wildlife drawn by food left out. Store food in the rig or a locked vehicle, and keep any fire in the provided ring.
Campground etiquette
Quiet hours are real. Keep the site clean, park inside the lines, and don’t block the road or a neighbor’s access. Pets stay leashed, and you pick up after them. Follow posted generator hours.
Arrive within the check-in window. If you’ll be late, call, since many campgrounds will hold a site for a late arrival that has been announced.
Frequently asked questions
What is the 3-3-3 rule for RV camping?
It’s a pacing guide: drive no more than 300 miles in a day, pull into camp by 3 p.m., and stay 3 nights before moving on. The aim is daylight setup and a driver who isn’t worn out. Plenty of RVers bend the numbers to fit a long route or a short weekend.
Where can RVs stay overnight for free?
Dispersed camping on BLM land and some national forest land is the main option, with no hookups and a stay limit often around 14 days. Expect to drive away from cities, coasts and national parks to find it. Store lots need the manager’s okay, and city, state and park rules can bring fines.
What is the 80/20 rule for RV?
Trailer owners use it to mean loading a trailer to about 80 percent of the tow vehicle’s rated towing capacity, so hills and crosswinds don’t push the setup past its limit. The binding numbers are the ratings on your vehicle’s and RV’s labels. Stay under all of them with room left over.
What not to forget when RV camping?
Small parts cause the most trouble: the water pressure regulator, surge protector, 30/50 amp adapters, sewer hose support, gloves and leveling blocks. Add bedding, towels, cookware, lighting, registration and insurance papers. At departure, confirm water, power and sewer are unhooked and slides and awnings are retracted.
Do I need a reservation for RV camping?
For national park campgrounds, yes, typically. Popular private and state campgrounds also fill on summer and holiday weekends, so book when the window opens. Dispersed camping on public land takes no reservation, but you carry all your own water, power and waste capacity for the stay.
What is dry camping?
It means parking without water, electric or sewer connections. You live on the fresh tank, the house battery and the waste tanks, so trips tend to be short. Start with the fresh tank full, the battery charged and the waste tanks empty, then ration water and power.
What is the RV-10 rule?
Some parks and campgrounds prefer rigs under 10 years old. It’s a house preference rather than a law, and how strictly it’s applied varies. Owners of older rigs should call the park before booking and offer photos if asked.