
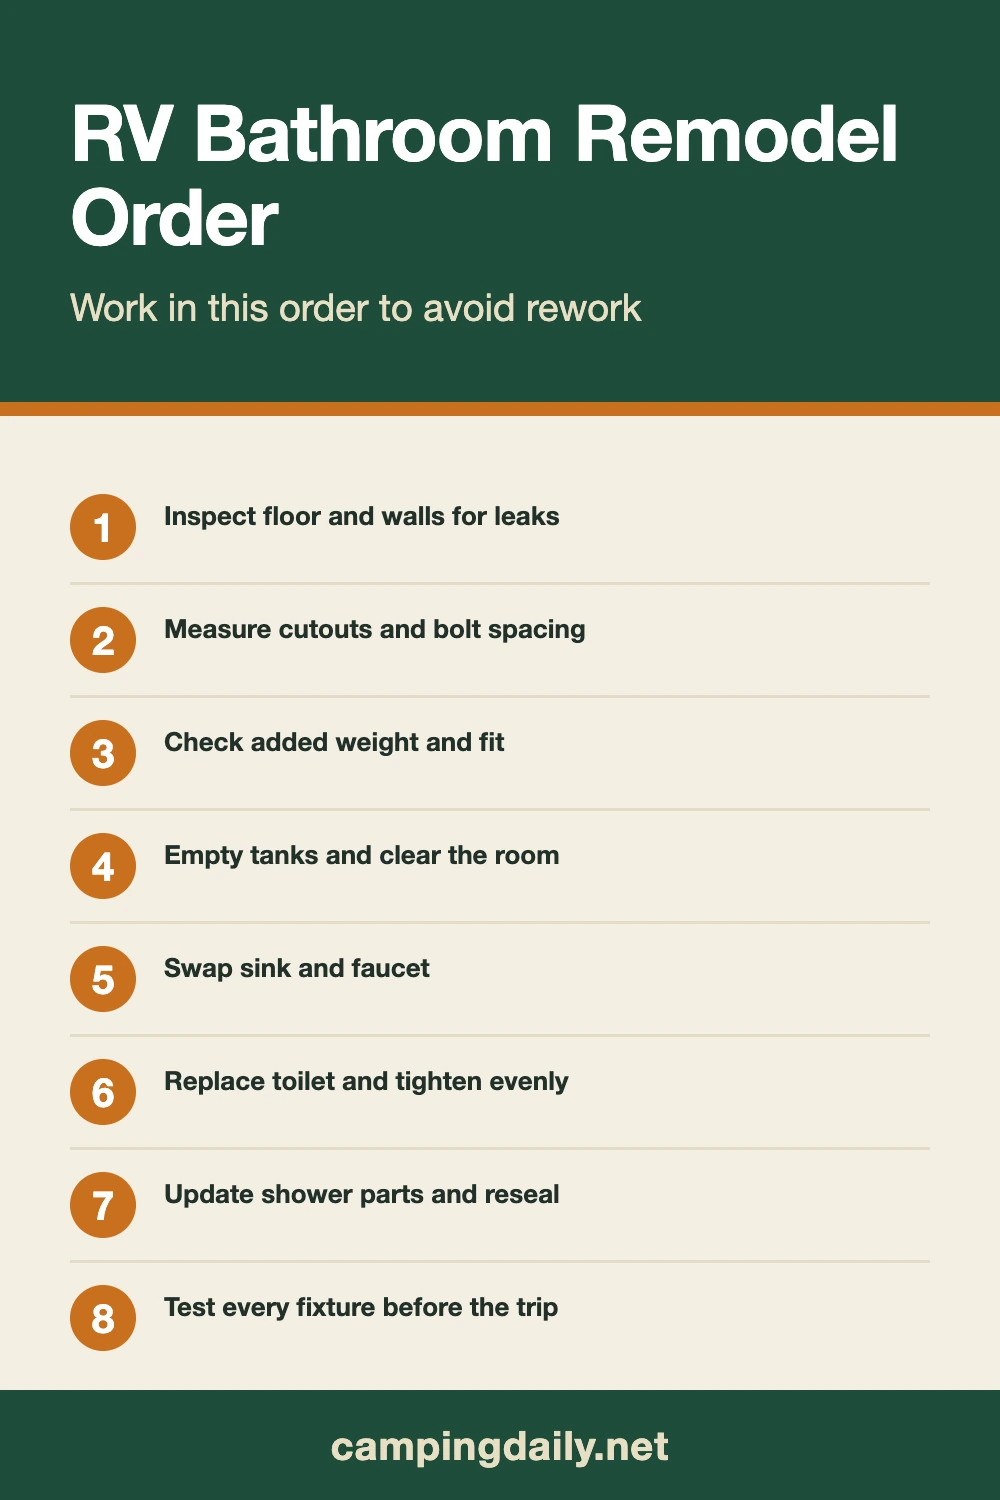
Remodel an RV bathroom in this order: check the walls and floor for water damage, measure the cutouts and bolt spacing, pick fixtures that fit the layout and the rig’s cargo limit, swap the sink, toilet and shower parts, then reseal and test. Soft flooring found on day one changes the whole job, so look before you buy anything.
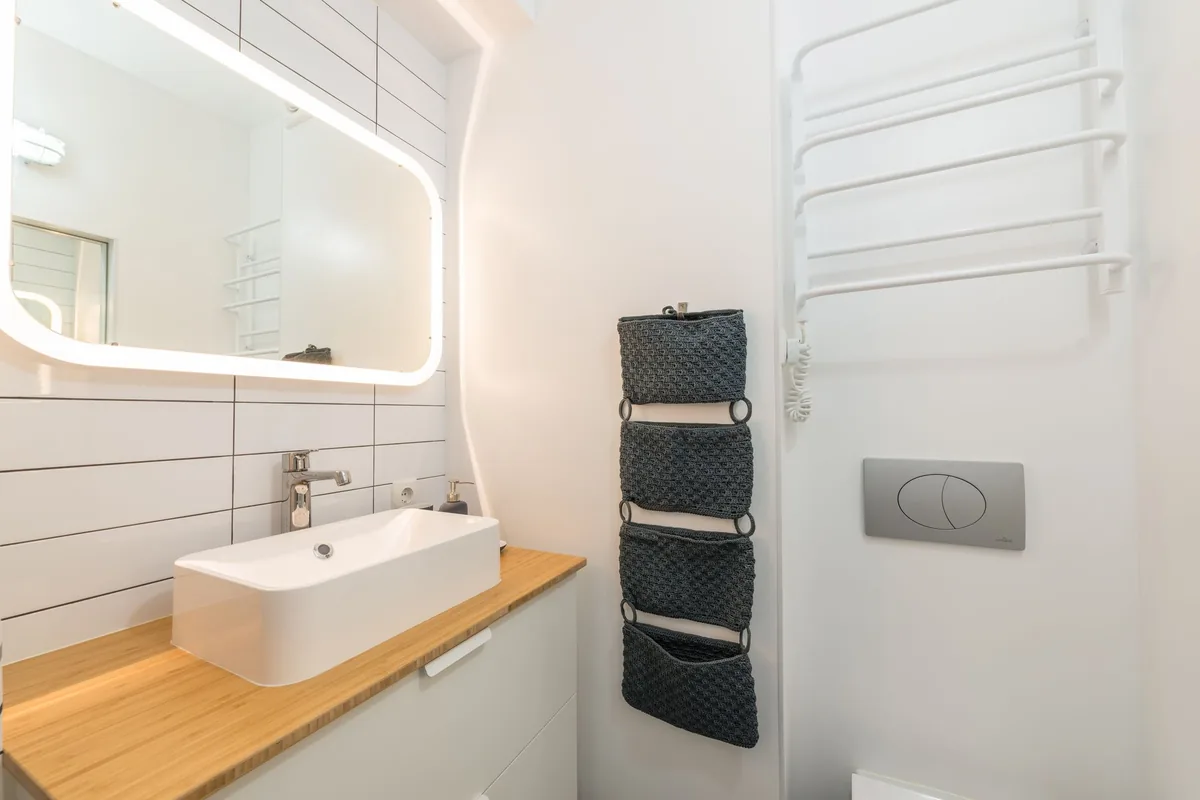
This covers an existing bathroom: toilet, sink, faucet, shower parts and the surfaces around them. For the basics of living in a rig, see the camping in an RV guide.
How an RV bathroom works
Three tanks sit behind most RV bathrooms. The fresh tank feeds the sink, shower and toilet. The grey tank catches sink and shower water. The black tank takes toilet waste. Some rigs send sink and shower drains to the black tank too, so check the plumbing diagram or trace the pipes.
Holding tanks run roughly 20 to 100 gallons depending on the rig, and the capacity is printed on the tank or in the owner’s manual. A full 40-gallon fresh tank adds about 334 lb. Whatever fixtures you add come out of the same cargo capacity that water already uses, which is why a porcelain upgrade deserves a weight check.
Pick your layout before you pick parts
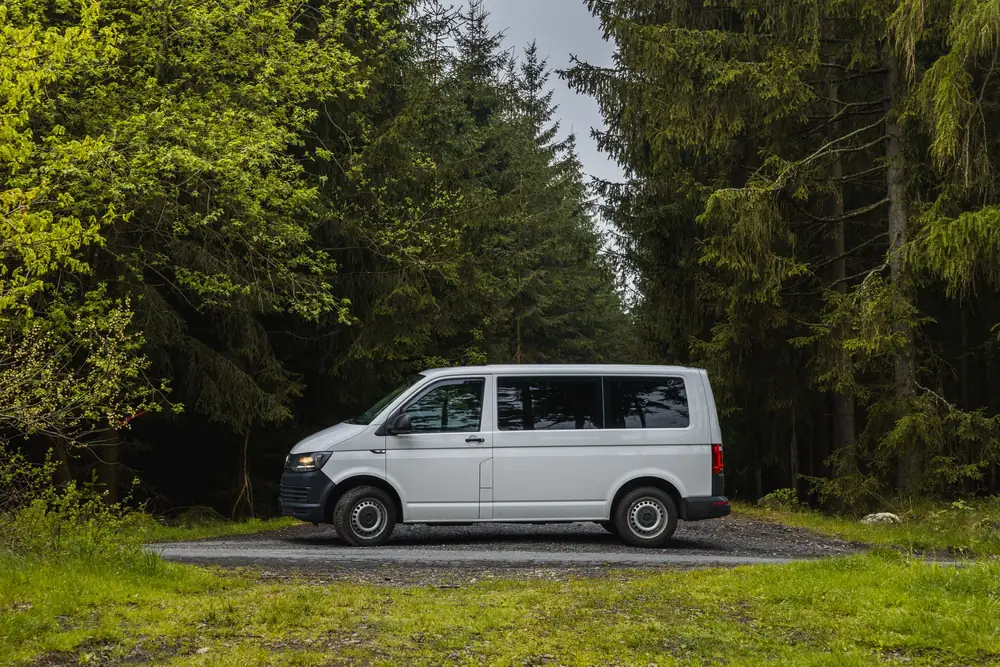
Layouts range from a dry bath, where toilet, sink and shower have separate spaces (found in some travel trailers), to a wet bath, where all three share one compartment. Vans usually have the wet type, sometimes with a fold-down sink. A split bath puts the shower on one side and the toilet and sink on the other. A convertible bath has a rotating wall that closes off the shower while the toilet and sink stay dry. Other rigs pair a half bath (sink and toilet) at the front with a full bath at the rear, and some have only a portable toilet and an exterior shower box kit.
The layout tells you where to spend sealing effort. In a wet bath every surface gets sprayed, so the caulk lines, door seal and floor edge need the most attention. In a dry bath that treatment applies mainly to the shower stall. Layouts change between model years, so measure your own space with a tape instead of trusting a brochure.
What you need
| Item | What to check | Price noted |
|---|---|---|
| Toilet | Many RV toilets, including the gravity-flush model one retailer lists, use a two-bolt mount; check yours. That model comes in 18 in (tall) or 13 3/4 in (low-profile) seat heights, white or parchment | Check retailer |
| Sink | Must fit your counter cutout; one listed model is 10 x 13 in oval with stopper | $31.95 without faucet |
| Faucet | 4 in spread listed; finishes include brushed nickel and satin black | $35.95 to $51.95 for brushed nickel |
| Shower diverter | Tub-and-shower diverter | $15.95 |
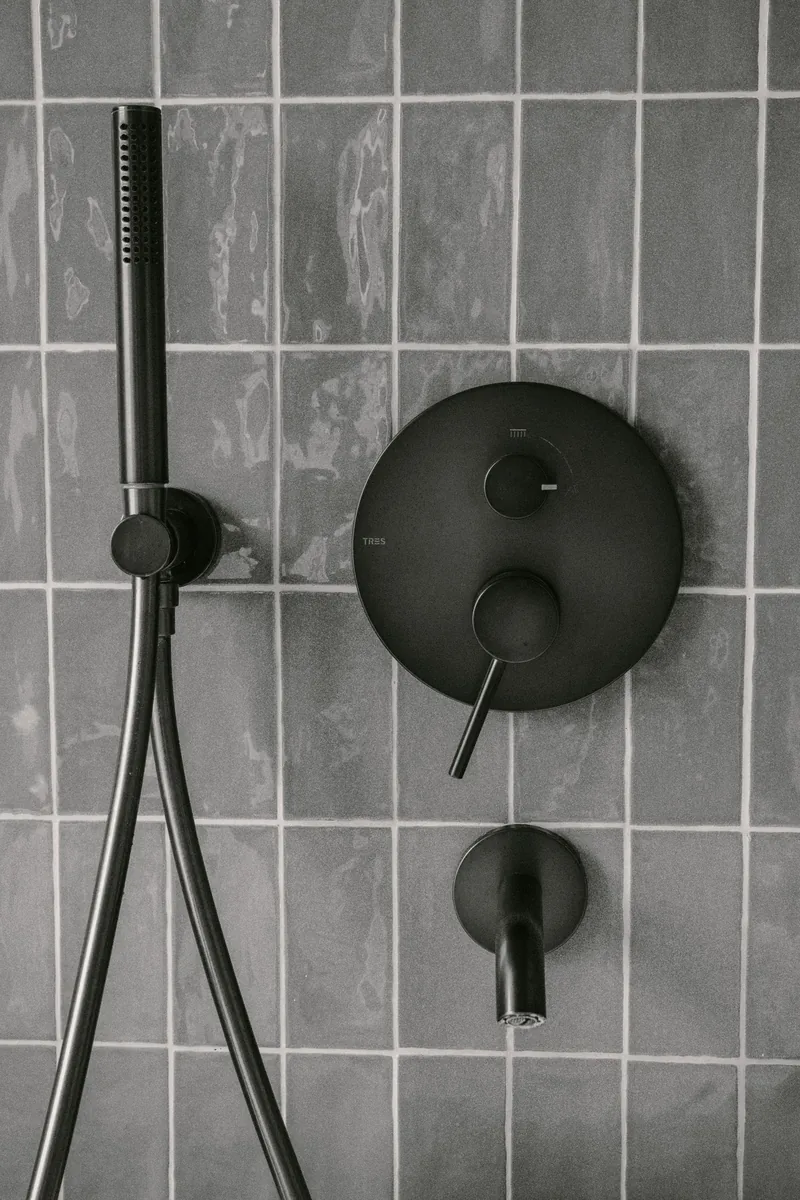
| Handheld shower set | Handle with hose and head | $25.95; diverter with handheld head $31.95 |
| Exterior shower box kit | For outdoor rinsing | $41.95 |
| Flexible silicone | Kitchen and bath gel type for cracks and seals | Hardware store |
| Water filter and pressure regulator | Protects new fixtures from surge pressure at the hookup | Check retailer |
Prices are from the RecPro bathroom category page as of October 2026. Confirm them on the retailer’s site.
Step by step
1. Inspect for water damage
Press on the floor around the toilet and the wall around the shower. Soft spots, stains or a musty smell mean water has been getting in, and that repair comes before any shopping. New fixtures on a rotten subfloor are wasted money.
2. Measure and photograph
Measure the sink cutout, the toilet’s mounting position and the distance from the wall to the bolt holes. Photograph the plumbing before disconnecting anything. RV fittings can be non-standard (one owner reported several hardware store trips hunting for matching parts), so carry the old part into the store.
3. Check weight and fit
Household sinks and faucets are heavier than the RV versions they replace. A 5th wheel or toy hauler may have room for a porcelain house toilet, but the waste connection has to seal against an RV flange, and that isn’t a given. Vans, teardrops and pop-ups need a compact or portable toilet.
4. Empty the area and the tanks
Clear the room and empty the tanks. Then shut off the water pump and open a faucet to release pressure in the lines.
5. Swap the sink and faucet
Disconnect the supply lines, loosen the old sink and lift it out. Scrape off old sealant, set the new sink, reconnect and run water. Unscrew the faucet tip afterward and rinse debris out of the screen.
6. Replace the toilet
Pull the old toilet and check the flange. Set the new one on its bolts and tighten them evenly so the base doesn’t crack. Gravity-flush models use a swirl-jet design and a china bowl, and dish soap in hot water or an RV-specific cleaner is enough for the finish.
7. Update the shower parts
A handheld head with a diverter is the easy upgrade, and a removable head doubles as a rinse hose at an exterior hookup. Look over the seals around the shower, toilet and sink while you’re there. Small cracks can be patched with flexible kitchen and bath silicone gel, which needs time to cure before anyone showers.
8. Test before you travel
Fill the fresh tank, run every fixture, and check for drips under the sink and around the toilet base. Look at the underside of the floor if you can reach it. Add water and a gentle tank cleaner to the black tank before the first trip.
Mistakes that cost money or safety
Buying fixtures before measuring is the common one, since cutouts and bolt patterns differ between rigs. Skipping the leak check comes second, because new surfaces can hide old damage until it has spread.
Returns catch people out. Camping World’s policy says it cannot accept returns on installed items and sends defects to the manufacturer, so test-fit everything before it’s installed.
Use 1-ply toilet paper. Two-ply can clog lines and foul tank sensors, and wet wipes and sanitary products should never go down the toilet. Don’t let the black tank run completely dry (waste clings and smells) or fill it to the max (it can back up and damage seals).
Freezing weather needs its own plan: skirt the underbelly, use heated hoses, and drain outdoor hoses when temperatures fall below freezing. A heated hose on a 110-volt outlet needs a properly rated outlet and cord for the load.
Upkeep after the remodel
Empty the grey tank when it is at least two-thirds full. Clean the sink, faucet, floor and shower walls after each trip and keep vents open to discourage mold. A pressure regulator and filter at the hookup protect the new fixtures.
For keeping pipes from freezing, read heater for camping first. Never run an unvented fuel-burning heater (portable propane, catalytic, charcoal and similar) inside a tent or RV at any time, and never rely on a CO alarm as permission. Use only heaters made for indoor use, such as the rig’s vented furnace or an electric heater on a properly rated circuit, and keep working CO and propane alarms installed and tested. The packing checklist covers extras like spare seals and hoses.
Cost and warranty notes
A sink swap can cost under $100 in parts, a toilet less or more depending on the model, and a shower upgrade under $50 for basic parts. Shop installs are quoted as estimates, and extra parts and labor can be added after inspection, so ask how that works and how long the workmanship guarantee lasts. One large retailer says its installation guarantee lasts as long as you own the vehicle; others differ.
Frequently asked questions
Can I put a regular house toilet in my RV?
Realistically only in a 5th wheel or toy hauler with the floor space. The sticking points are the flange, the seal against the RV waste connection and the added weight. A van or pop-up won’t take one.
How do bathrooms work in an RV?
Water from the fresh tank runs to the sink, shower and toilet. Used water drains to the grey tank, and toilet waste goes to the black tank. You empty both at a dump station or sewer hookup.
What should I check before replacing an RV toilet?
Measure the bolt spacing and the distance from the wall to the bolt holes, and count the bolts. Many RV toilets use two. Seat height differs by model: one gravity-flush toilet is offered at 18 in or 13 3/4 in.
Can I use regular toilet paper in an RV toilet?
Stick to 1-ply, since two-ply can clog lines and foul tank sensors. Flushable-labeled wipes still don’t belong in the bowl.
Run the fresh tank full and check every joint for drips before you load the rig.